
This guide will show you how to install and run Community Maps on your s&box Server
Installing and running community maps on your S&box server opens the door to a huge range of player‑made environments, experimental game modes, and creative worlds that go far beyond the default experience. Whether you're hosting a private server for friends or building a public community hub, adding custom maps is one of the fastest ways to make your server feel unique and alive. This guide walks you through the entire process from locating community‑made maps to configuring your server so it loads them reliably every time. You’ll learn where maps come from, how S&box handles addons, and the exact steps needed to ensure your server recognizes and runs the content correctly. By the end, you’ll have a fully customized server ready to showcase the best creations the s&box community has to offer.
Loading Community Maps on an S&box Dedicated Server
1. Browse the s&box Maps library and pick the map you want to run.
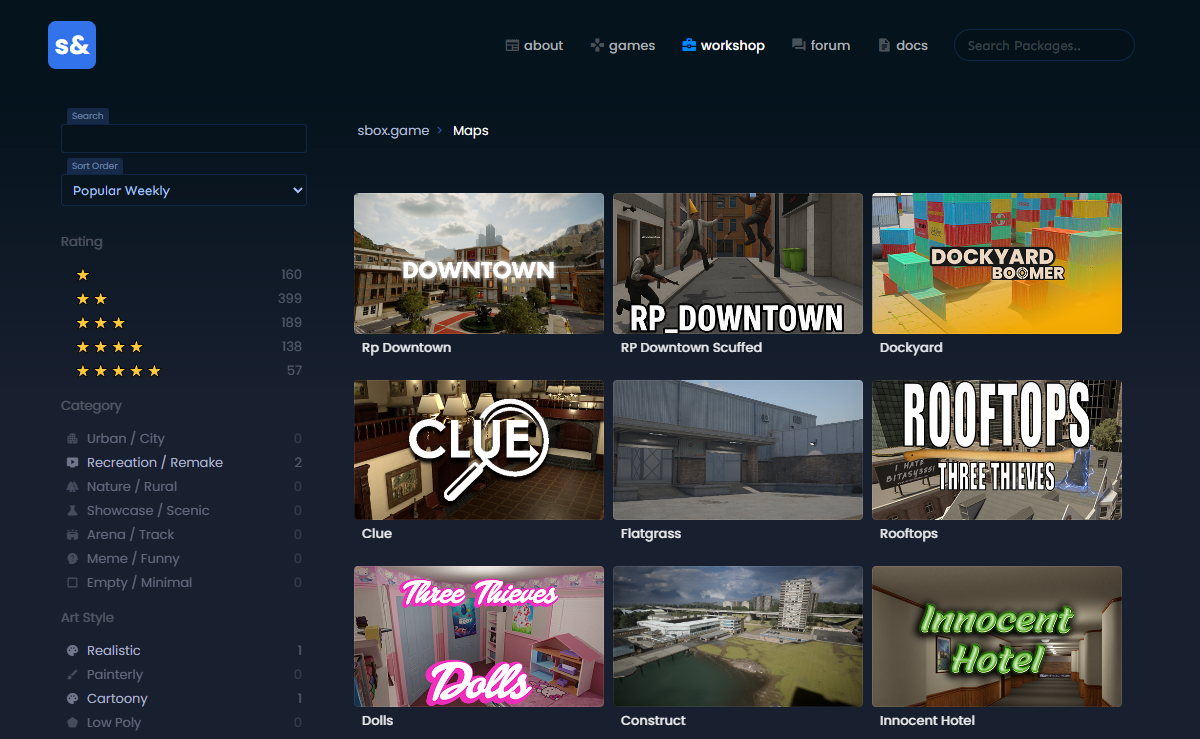
2. From the address bar, take note of the author and slug.
![]()
3. Log in to your Game Control Panel.
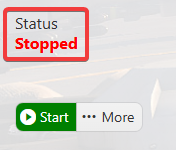
4. Make sure your server is fully stopped before making any changes.
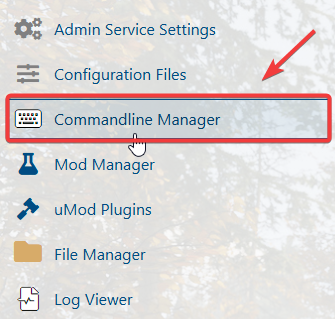
5. Navigate to the Commandline Manager Tab.
6. Open the Commandline Manager, then click Modify beside the Custom Gamemodes command line. In the Startup Map field, enter the author and slug from step 2 using the following format: <author>.<slug>

Click the Apply button to save the changes.
7. Start the server to launch the new map on your server.

Did the above information not work for you?
Please click here to contact our support via a ticket.
