This article will guide you how to setup basic server config for your Insurgency server.
This guide will show you the things you can edit in your Insurgency server to customize it according to your preferences:
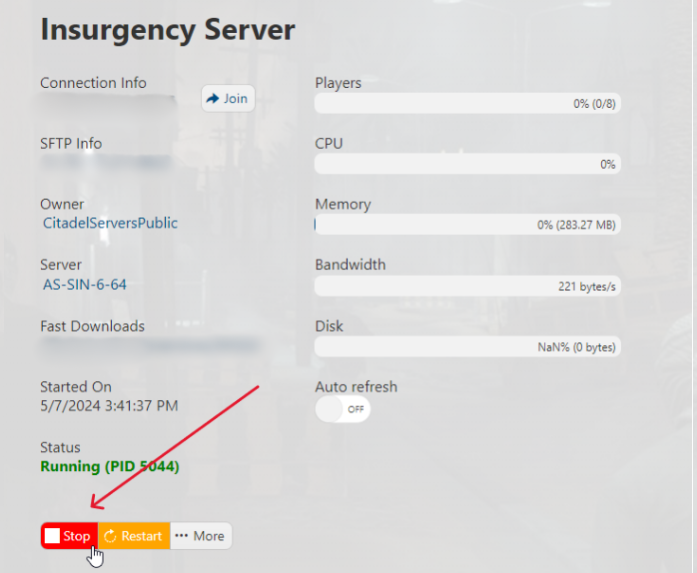
1. Login and access your game panel and navigate to your Insurgency server. Make sure it's not running. If it is, press the "Stop" button.
2. Open the 'Configuration Files' section from your control panel.

You have two method for this:
- Via the Config Editor (We recommend this if you only want to edit basic settings)
- Via the Text Editor
3. Click on the Config Editor button next to 'server.cfg' if you choose this method. If not, proceed to step 6.
4. This menu will pop up. Here, you will see all the values and parameters you can edit for your server. We suggest this method as this is more convenient and easier to use.
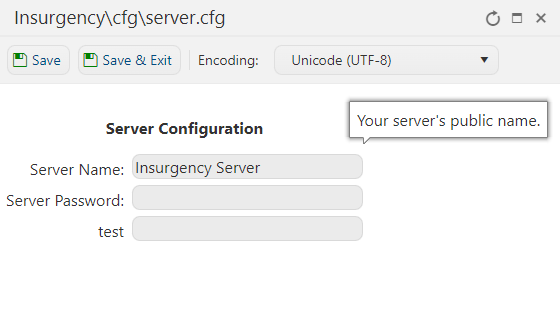
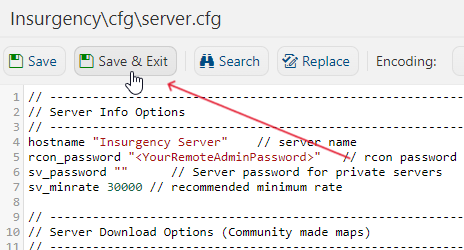
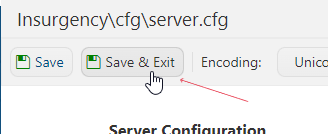
5. Make sure to press Save & Exit once you've made the changes you want.
6. Click on the 'Text Editor' option next to 'server.cfg'.
7. Refer to the Example Configuration below and change the respective settings where you need to do so in order to configure your server to your desires.
// Server Info Options
// ---------------------------------------------------------------
hostname "Insurgency Server" // server name
rcon_password "<YourRemoteAdminPassword>" // rcon password
sv_password "" // Server password for private servers
sv_minrate 30000 // recommended minimum rate
hostname "Insurgency Server" // server name
rcon_password "<YourRemoteAdminPassword>" // rcon password
sv_password "" // Server password for private servers
sv_minrate 30000 // recommended minimum rate
// Server Logging Options
// ---------------------------------------------------------------
log on // enables/disables server logging, it will store all text which console prints into TXT files
sv_logbans 1
sv_logecho 1
sv_logfile 1
sv_log_onefile 0
// ---------------------------------------------------------------
log on // enables/disables server logging, it will store all text which console prints into TXT files
sv_logbans 1
sv_logecho 1
sv_logfile 1
sv_log_onefile 0
// Game Mode Options (Change text with in the quotes)
// ---------------------------------------------------------------
// "mapcycle.txt" - by default this contains the most popular options
// "mapcycle_all.txt" - all possible map/mode combinations for PvP
// "mapcycle_ambush.txt" - only ambush (VIP) mode
// "mapcycle_attackdefend.txt" - mix of attack/defend modes
// "mapcycle_cooperative.txt" - checkpoint, outpost, hunt
// "mapcycle_firefight.txt" - all firefight maps
// "mapcycle_flashpoint.txt" - all flashpoint maps
// "mapcycle_infiltrate.txt" - all infiltrate (CTF) maps
// "mapcycle_objrespawn.txt" - all modes featuring respawning for completing objectives
// "mapcycle_occupy.txt" - all occupy maps
// "mapcycle_push.txt" - all push maps
// "mapcycle_singlelife.txt" - mix of all single life modes
// "mapcycle_skirmish.txt" - all skirmish maps
// "mapcycle_workshop.txt" - used by Workshop system
mapcyclefile "mapcycle.txt"
8. Make sure to press Save & Exit once you've made the changes you want.
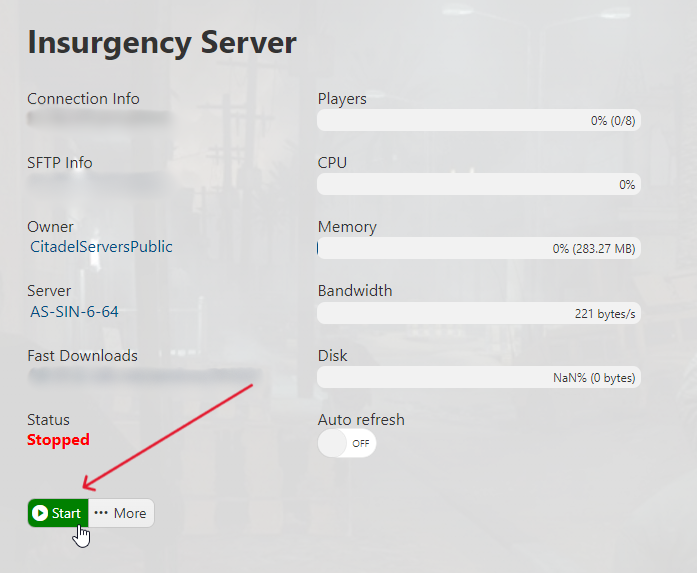
9. Head back to your game panel and press "Start" to start your server.
