This guide will show you how to add and Change Maps on your Unreal Tournament 2004 Server.
Click here to order your Unreal Tournament 2004 server with Citadel Servers today!
Running a dedicated Unreal Tournament 2004 (UT2004) server is one of the best ways to customize your multiplayer experience, and one of the most exciting aspects of server management is controlling the maps your players will battle on. Whether you want to expand your rotation with new community-made maps or simply adjust the order of existing ones, knowing how to add and change maps is essential for keeping your server fresh and engaging. In UT2004, maps are stored as .ut2 files, and the server reads them from the Maps directory. By placing new map files in the correct folder and updating your server configuration, you can seamlessly introduce new battlegrounds. Likewise, modifying the map rotation ensures players experience a variety of environments without manual intervention. This process involves editing configuration files UT2004.ini or using the in-game web admin interface to manage map lists dynamically. Mastering these steps not only gives you control over the flow of gameplay but also helps you tailor your server to your community’s preferences, whether that means fast-paced arena maps, sprawling Onslaught battlefields, or custom creations from the modding community. With just a bit of setup, you’ll be able to keep your UT2004 server exciting and unpredictable, ensuring players always have a reason to come back for more.
Adding Maps to your Unreal Tournament 2004 Server
1. Download the maps you want to add to your server.
| File Type | Purpose | Destination Folder |
|---|---|---|
| .ut2 (Map files) | Core map data | /Maps |
| .utx (Textures) | Visual textures used by maps | /Textures |
| .usx (Static Meshes) | 3D models and structures | /StaticMeshes |
| .ogg (Music) | Background music tracks | /Music |
| .uax (Sounds) | Sound effects | /Sounds |
NOTE: If the map is in .ut4mod or .umod format, run it through the installer to automatically place files in the correct directories.
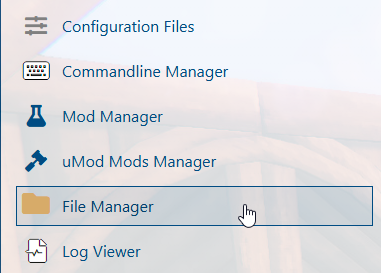
6. After sorting the map files into their proper folders, go to the Configuration Files tab.
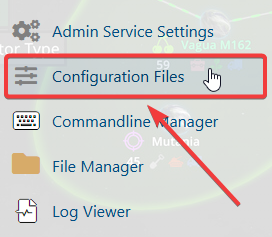
7. On the Configuration Files tab, open the Text Editor for the System/UT2004.ini file.

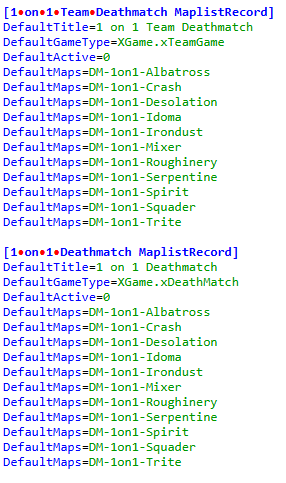
8. Within the UT2004.ini file, locate the section for your chosen game type (e.g., DeathMatch, CaptureTheFlag, Onslaught). Under the map list for that game type, insert the names of the new maps you’ve added, making sure they match the file names exactly.
9. Once you’ve updated the map list, press the Save button in the Text Editor to confirm and apply the changes to your server.

To make sure other players can automatically download maps when joining your server, you’ll need to configure FastDL (Fast Download). This feature hosts compressed map files (.uz2) on a web server, allowing clients to fetch them quickly instead of relying on slower in-game transfers. For a detailed walkthrough, you can check this guide.
Changing Maps on your Unreal Tournament 2004 Server
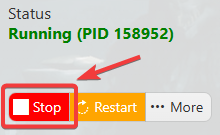
1. Log in to your Game Control Panel and navigate to your service.


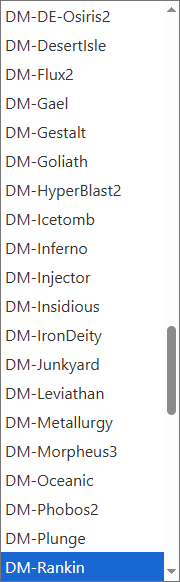
Find the Startup Map setting. From the dropdown list, choose the map you want the server to start with when it launches.
open DM-NewMapName.Please click here to contact our support via a ticket.
