
If you're hosting a 7 Days to Die server and your players are scattered across different parts of the globe, setting the correct server region isn’t just a nice-to-have—it’s essential for performance. Choosing the right region can dramatically reduce latency, prevent connection drops, and make your apocalypse experience smoother and more immersive. Whether you're managing a private community or opening your server to new survivors, understanding how to change the region is key to keeping your world stable and responsive. This guide walks you through the process of switching your server’s region settings, ensuring your gameplay is optimized no matter where your players are based. Let’s tune up your server and take lag out of the survival equation.
Changing Server Region on your 7 Days to Die Server
1. Log in to your Game Control Panel.
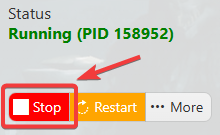
2. Before making any modifications, stop the server from running by clicking the Stop button.
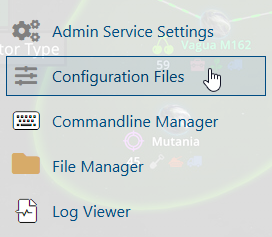
3. Navigate to Configuration Files.
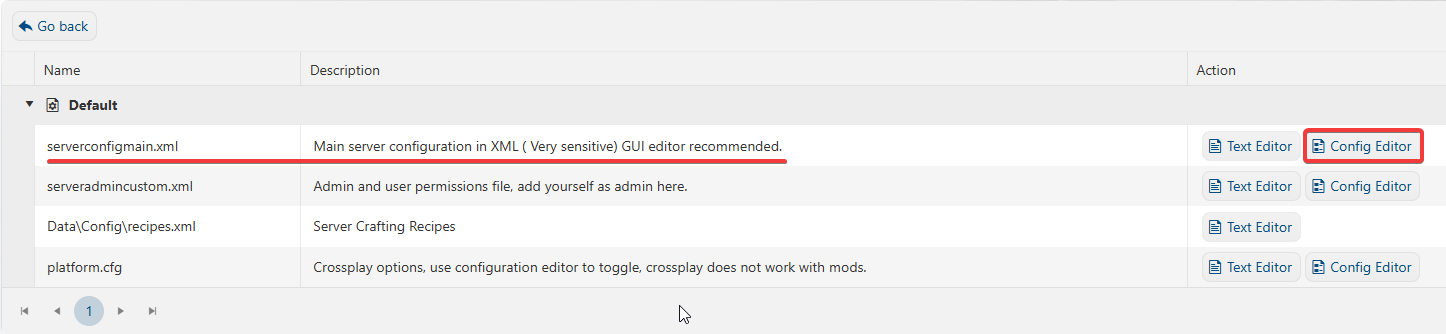
4. On the Configuration Files, you will see the serverconfigmain.xml file which is the General Server Config. Click the Config Editor.
5. On the Config Editor, look for Server Region and change it to your preferred region.
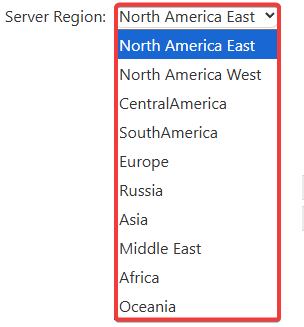
6. After editing, click the Save button to apply the changes.
![]()
