The following guide will show you how to add a Server Name and Password on your LOTR: Return to Moria Server.
Not a client yet? Order a LOTR Return to Moria Server with Citadel Servers today
Creating a custom server in Return to Moria offers a gateway to adventure with friends in the depths of Khazad-dûm. Giving your server a distinctive name helps it stand out in the server browser and makes it easier for your party to find. Meanwhile, adding a password ensures that your fellowship remains private—secure from trolls, orcs, and unexpected guests. Whether you’re forging a close-knit co-op group or organizing an epic quest night, configuring your server name and password is the first step toward a smoother journey through Middle-earth.
Adding Server Name and Password on your LOTR: Return to Moria Server
1. Log in to the Game Panel and navigate to your LOTR: Return to Moria server.
2. Before making any modifications, stop the server from running by clicking the Stop button.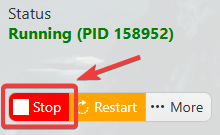
3. Navigate to the Configuration Files section.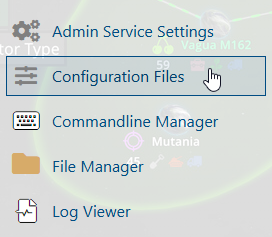
4. On the Configuration Files, you will see the MoriaServerConfig.ini file which is the General Server Config. Click the Config Editor beside the Text Editor.
5. Put your preferred server name and password on the specified space then hit save.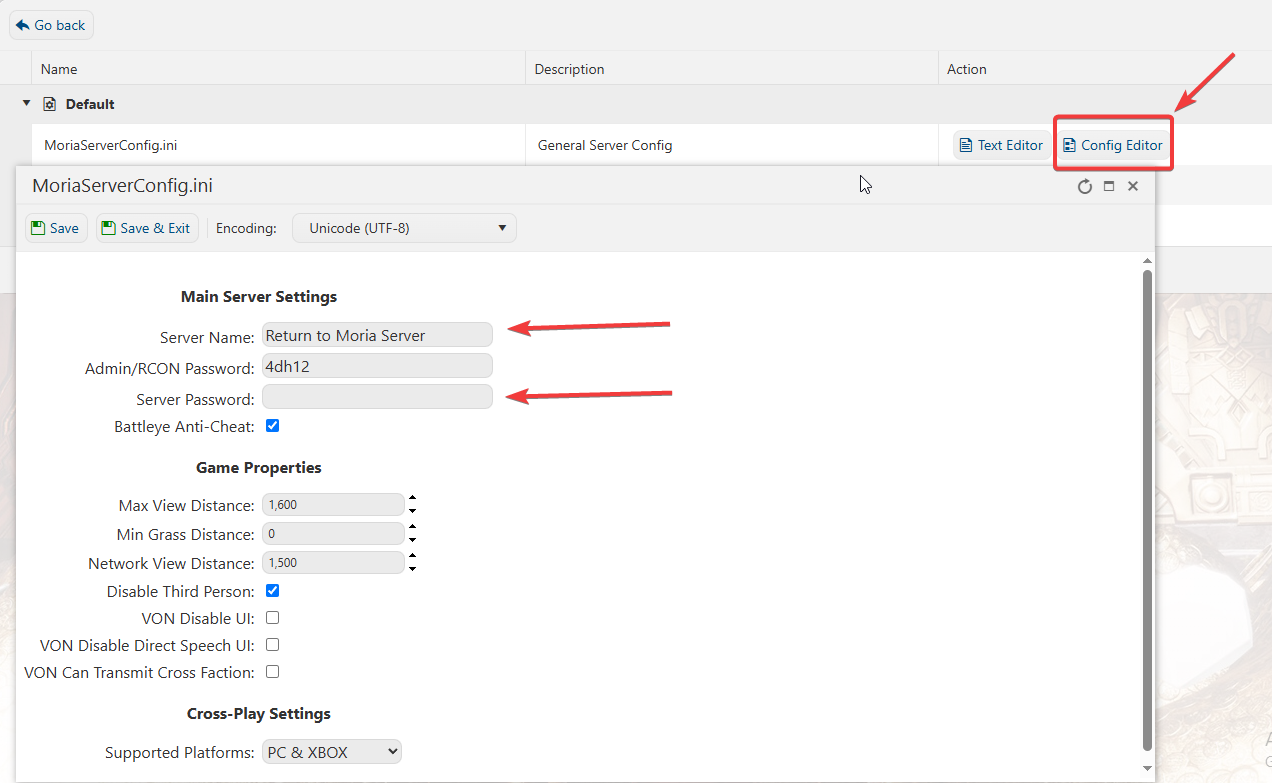
or
If you want to change the server name directly on file instead of using our UI, you can click the Text Editor beside the Config Editor and do the changes from there.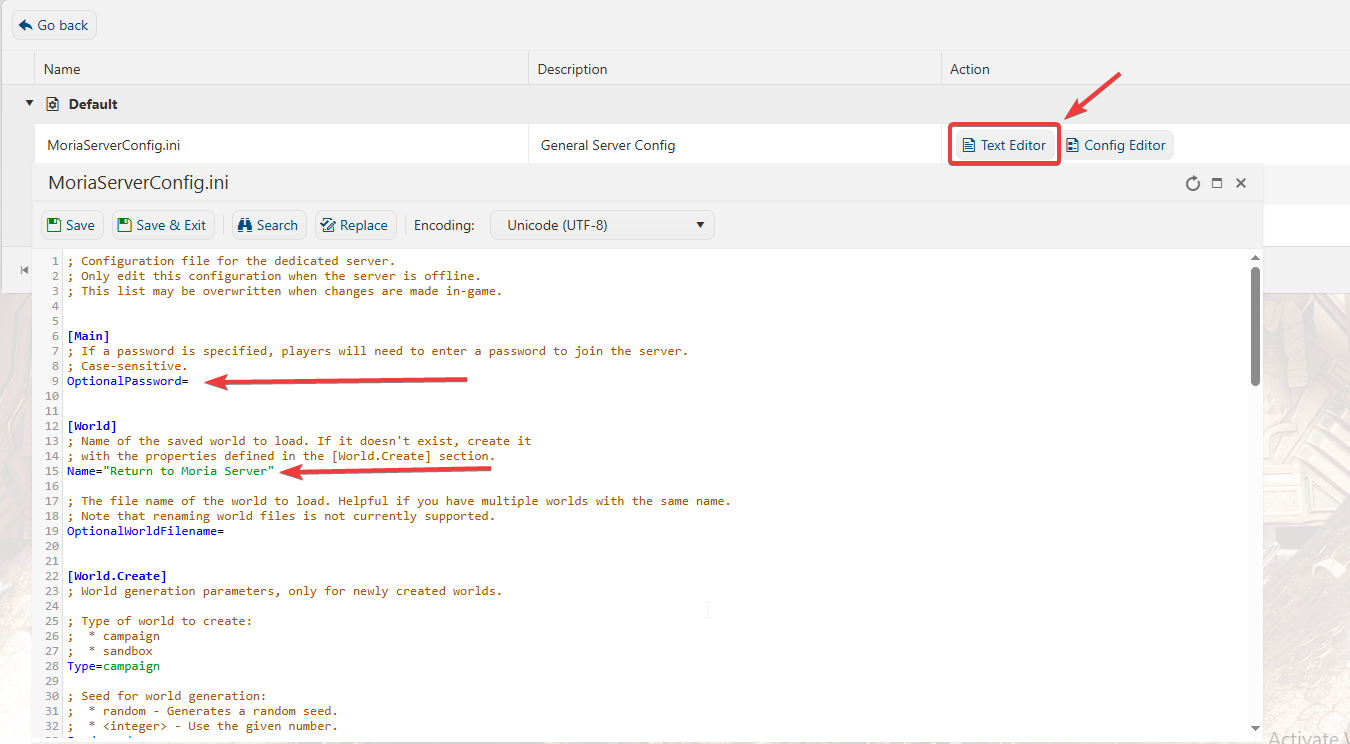
In this way, you are ensured that any custom changes that you made like mods and custom scenarios will be saved and not be affected by the Config Editor preset.
