This guide will show you how to configure your DayZ server.
Click here to order your DayZ Standalone server with Citadel Servers today!
To configure your DayZ server, follow the guide below:
1. Login to the Game Panel (click this link for easy access) then go to your Game Service.
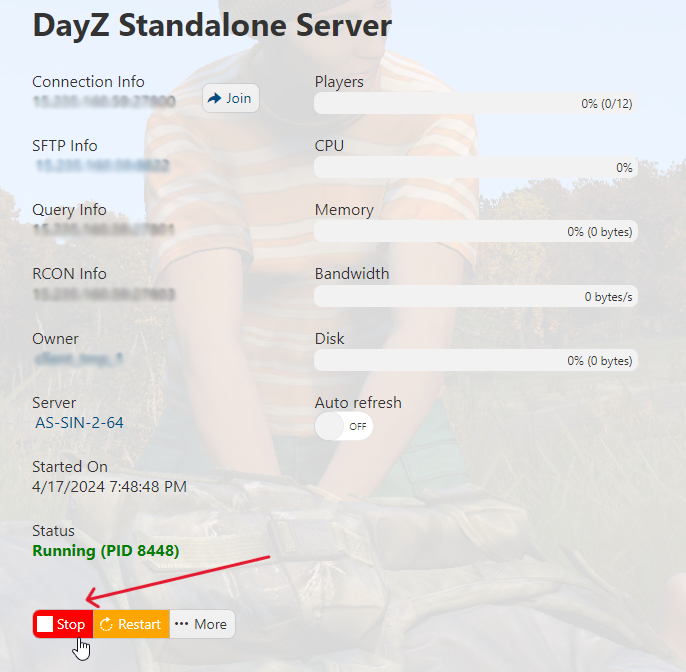
Make sure the server isn't running. If it is, press the Stop button.
2. On the left side panel, click on "Configuration Files".
3. Click on the "Config Editor" of the 'serverDZ.cfg' file.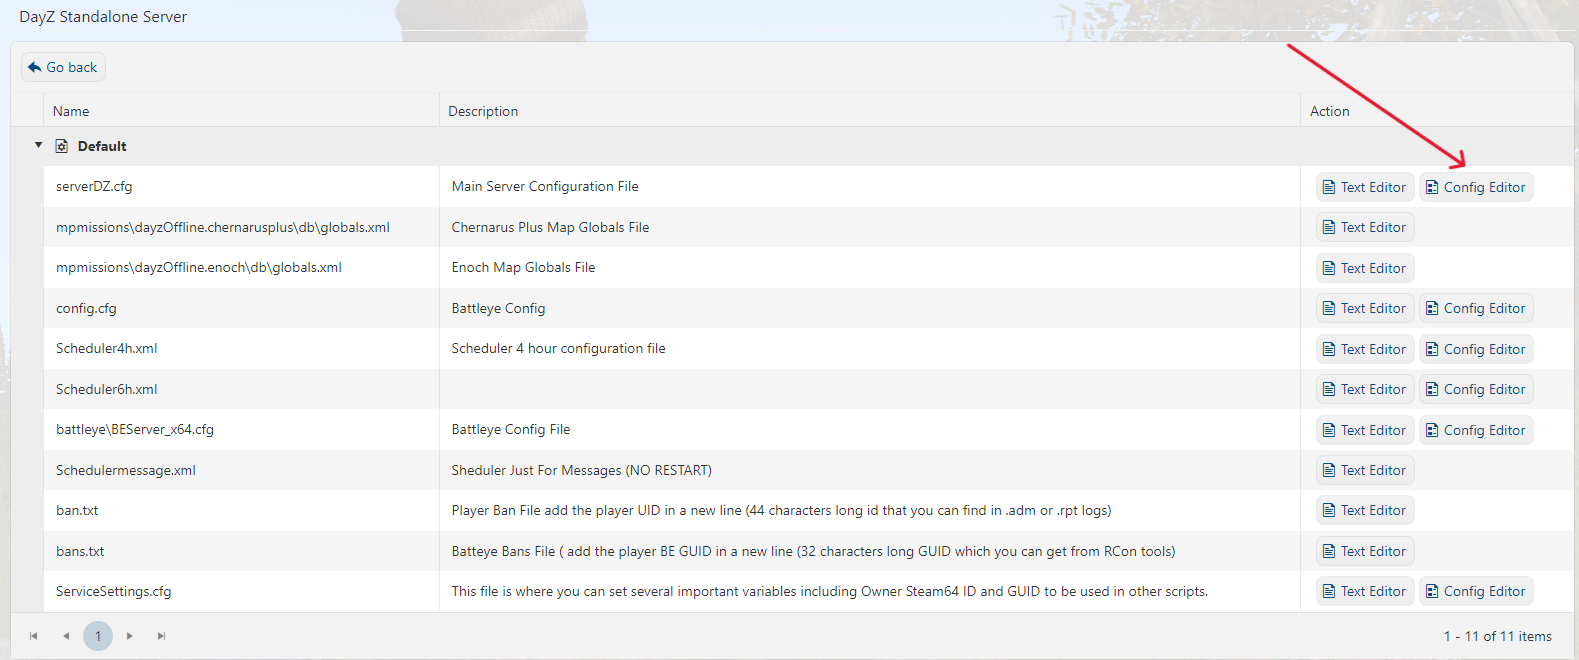
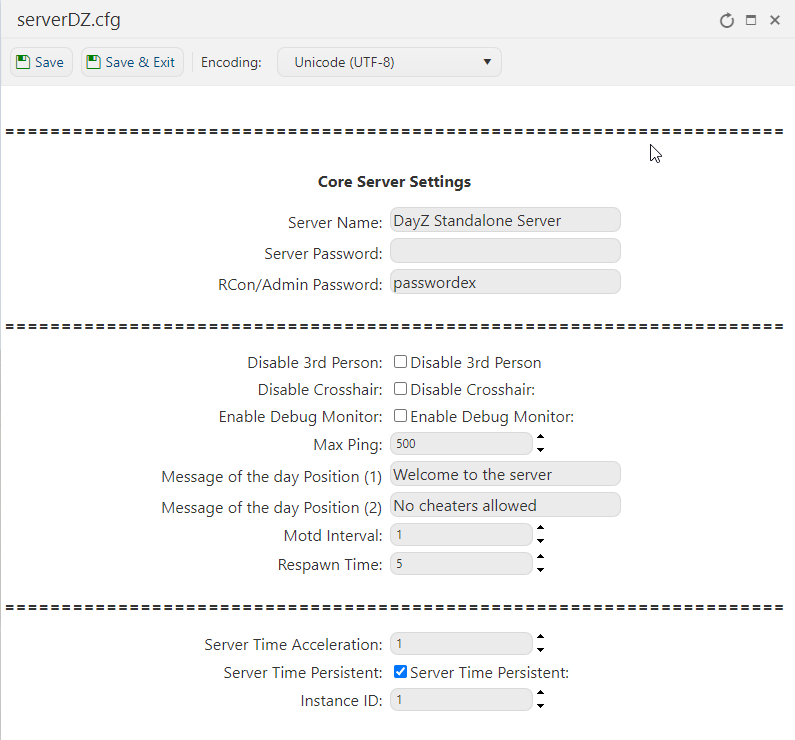
4. This window will pop out. Refer to the configuration settings description below and change the respective settings where you need to do so in order to configure your server to your desires:
DayZ Standalone Server Settings
General Settings
- Server Name DayZ Standalone Server //Server name, exactly as it will be displayed in the in-game server browser
- Server Password //Server password, when set, must be entered by anyone who wants to join the server
- Admin Password passwordex //Administrator (Admin) password, which must be entered by anyone who wants to run admin commands on the server
- Mission: //dayzOffline.chernarusplus for Chernarus MAP OR dayZOffline.enoch for Livonia MAP
- Max Ping: // Max ping until the server kicks the user.
- Disable 3rd Person //Turn off 3rd person on the server.
- Disable Crosshair //Turn off crosshair on the server.
- Message of the day //Message of the day displayed in in-game chat
- Enable Debug Monitor //Shows info about the character using a debug window
Time Settings
- Server Time Acceleration 0 //Time acceleration multiplier, a higher value will make the day/night cycle faster.
- Persistent Time //No or Yes, If set to YES, when the server is stopped, the time will stay the same when it's started next.
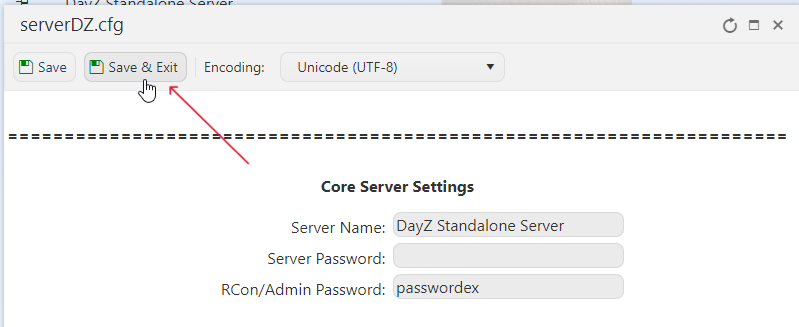
5. Press Save & Exit once you're finished.
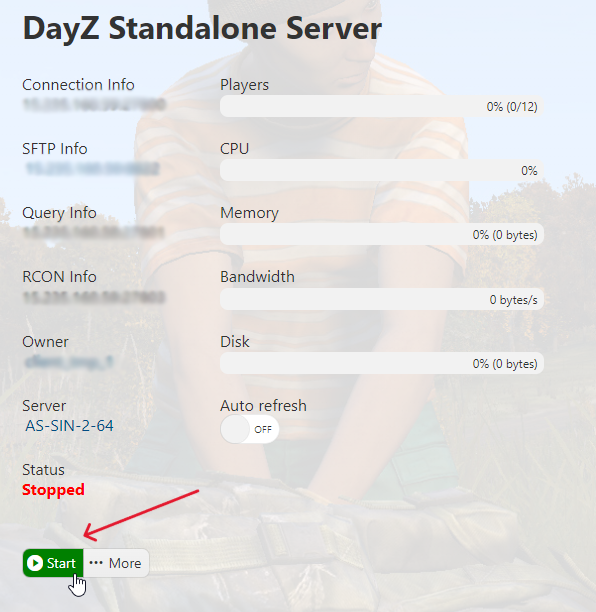
6. Go back to your Game Panel and run your server again by pressing on the Start button.
7. Connect to your server with newly configured settings. Happy gaming!
Did the above information not work for you? Please click here to contact our support via a ticket.

